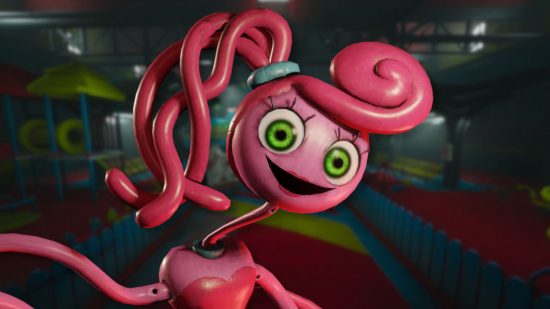
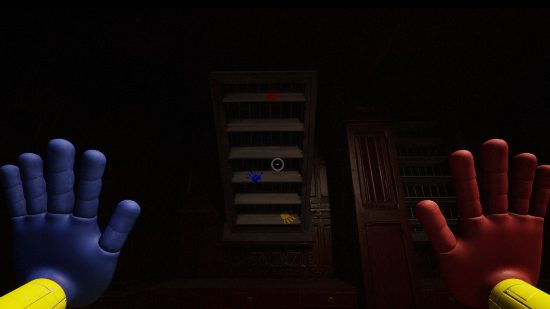
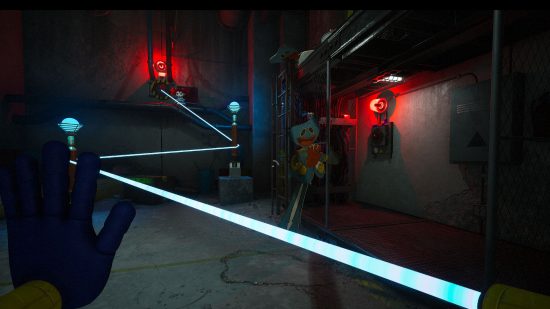
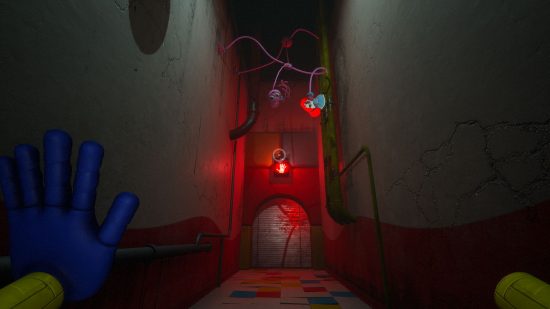
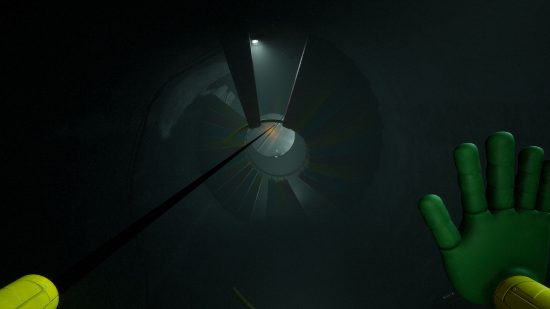
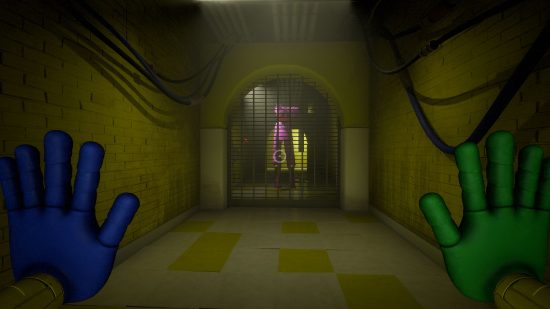
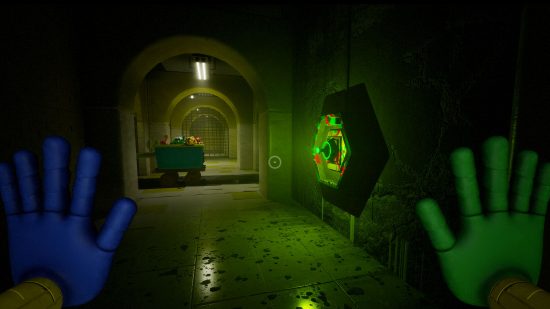
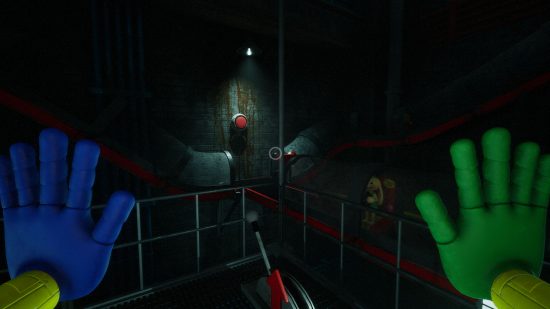
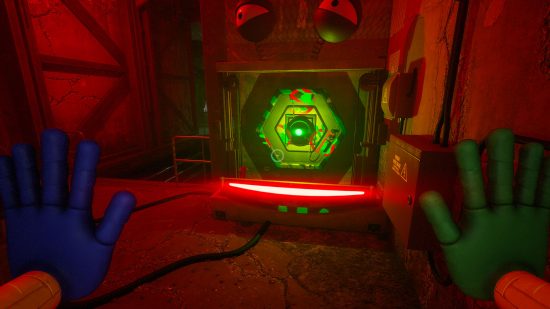
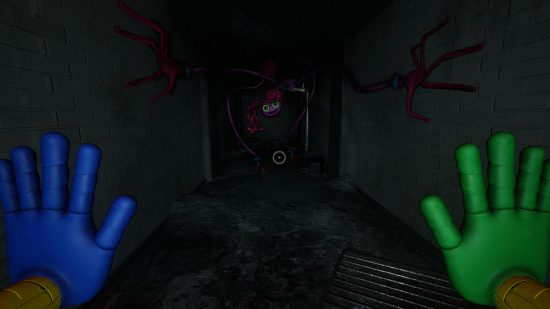
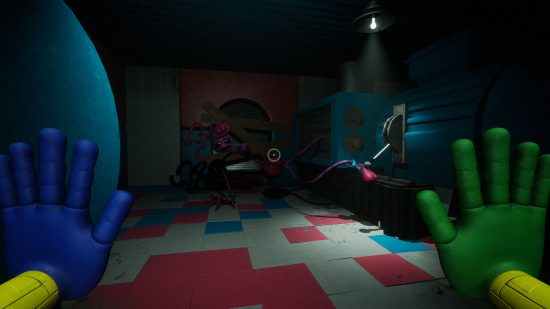
With the immense success of the first chapter of Poppy Playtime, Chapter 2 was bound to be a big hit, too. Moving on from the slender, threatening arms of Huggy Wuggy and introducing the equally slender, threatening arms of Mommy Long Legs set all of our spines tingling and hairs on end.
With even more puzzles to ponder and frights to face than its predecessor, making it further into the factory is a real challenge. But with our Poppy Playtime Chapter 2 walkthrough, you’re sure to survive to see the next instalment – whenever that may be.
Before diving into chapter 2, make sure you’ve completed Poppy Playtime Chapter 1 unless you enjoy being completely confused. You can also check out our Poppy Playtime Boxy Boo, Poppy Playtime Daisy, Poppy Playtime Kissy Missy, Poppy Playtime Boogie Bot, Poppy Playtime Candy Cat, Poppy Playtime Huggy Wuggy, Poppy Playtime Chapter 3, Poppy Playtime characters, or Poppy Playtime factory guides for more spooky fun.
What is Poppy Playtime Chapter 2?
Poppy Playtime is a survival horror game with puzzle-based gameplay, developed and published by MOB Games. You take the role of a former employee of a formerly popular toy company called Playtime Co., revisiting the abandoned toy factory you worked at ten years after the disappearance of other staff. Wandering the halls in a first-person perspective, you’re tasked with solving a variety of puzzles using the GrabPack gadget, and dodging the spoogly, possessed toys that want to play.
Chapter 2 is called Fly in a Web, covering the next leg of your scary adventure. For better or worse, you released Poppy from her glass prison, and it seems like she wants to help you. It’s time to go deeper into the factory in search of answers, but be careful – Poppy Playtime’s Mommy Long Legs is never far away.
How do I play Poppy Playtime chapter 2?
Poppy Playtime is available to purchase on mobile and PC. On Steam, Chapter 1 is free, but Chapter 2 acts as a paid DLC. After purchasing and downloading chapter 2, you need to launch the game and then select ‘chapter 2’.
For mobile, Poppy Playtime Chapter 1 and Poppy Playtime Chapter 2 are separate games. You can purchase and download the second chapter on Google Play or the App Store.
Poppy Playtime Chapter 2 walkthrough – Fly in a Web
As mentioned above, Poppy Playtime Chapter 2 is called Fly in a Web, and takes you further into the factory in search of answers. Your main focus in this chapter is to find three hints in order to get the train in the Game Station chugging again.
There are more collectibles to snag in this chapter, with six VHS tapes and nine statues dotted around the map. Once again, if you die after grabbing a collectible, don’t worry – it still counts. You can complete chapter two in about one to five hours depending on your skill level and how much you want to look around, but with our walkthrough, you can get it done even quicker.
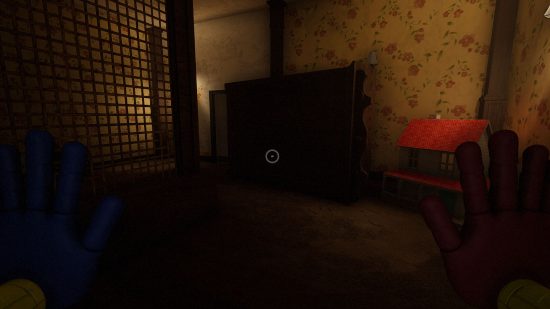
When you begin the second chapter, you pick up right where the first one finished – in Poppy’s room where you unleashed her from her case. Turn around and walk back down the corridor until you get to a room with a bunch of doll houses. Look right to find a tipped-over wardrobe in front of a white door. Go through the white door to get to the next part of the factory.
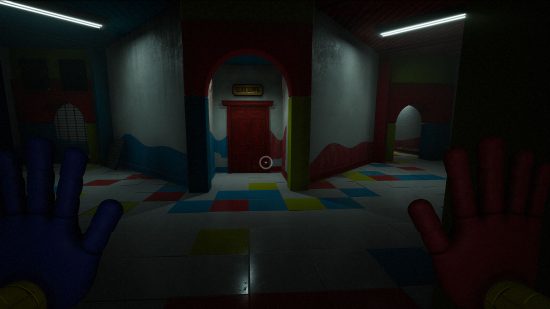
Head forward until you find an intersection where the path splits into three directions. The central path stops at a red door marked as Elliot Ludwig’s Office, but you need a key to enter. Go right and head down the hallway until you reach a gap in the floor. Look up to find a red pipe in the ceiling, then grab it and swing across the gap to the other side.
Keep walking and enter the room at the end of the hallway. To your right, you find a door blocked by a bunch of barrels. Use your grabby hands to move the barrels out of the way, then open the door to access the storage closet. Grab the key hanging on the wall, then head back to Elliot Ludwig’s Office.
Inside Elliot Ludwig’s office, there’s a Daisy statue on the desk and a black VHS tape. Grab both, then play the tape on the black VCR player.
Behind the desk, there’s a vent cover decorated with those telltale handprints. Pull the cover off and hop into the vent.
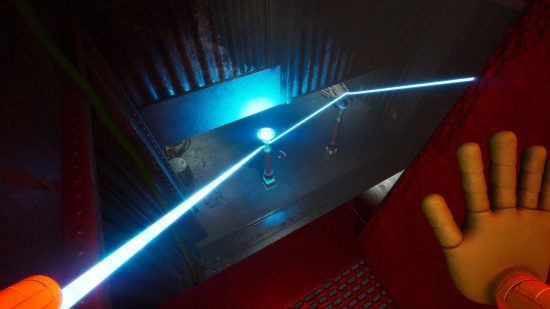
Keep moving through the vent until you get to a mechanical room where you find Poppy. She has a little chat with you, then steps aside revealing a plug. It’s time for another circuit puzzle!
Attach one hand to the plug, then wrap your arm around the two conductive posts. Shoot your other hand to the other plug to complete the circuit.
Head back to the vent you came through and use the grapple point above to pull yourself back in. Go back through the vents and out of Ludwig’s office, then turn right to explore the other path from the intersection. Open the door with the two hand buttons, then swing on the grapple point to cross the chasm and go through the door at the very end.
Watch the cutscene, then hop into the hole.
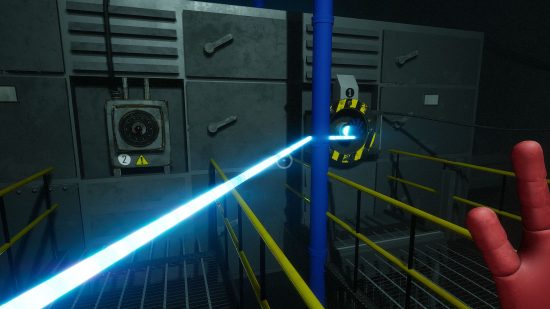
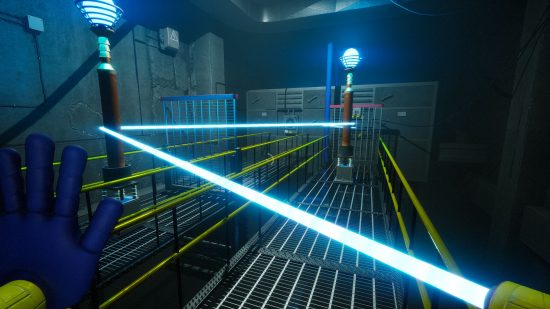
You find yourself in a new part of the factory and, as expected, you need to solve another circuit puzzle to restore power in order to progress. Head through the ‘power’ door to your left, then stand on the left catwalk. Throw your hand behind the blue pipe and connect to the fuse at the end of the right catwalk.
Walk back and head around the inside of the left conductive pole so that you aren’t connected to it yet. Head down the right part of the catwalk and loop around the right conductive pole, triggering a gate to rise.
Go back and loop around the left conductive pole, causing another gate to rise. Double back on yourself and walk along the inside of the right catwalk. Reach across the gap with your other hand to hit the left fuse and complete the circuit.
Exit the room and follow the hallway to get to the game station. Shoot your red hand at the switch above the door and – oh no! Mommy Long Legs is here, and she steals your red hand. What a pain in the butt.
After the cutscene, move forward and pull the lever to enter the game station.
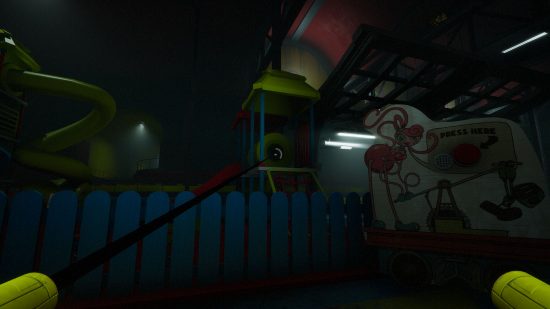
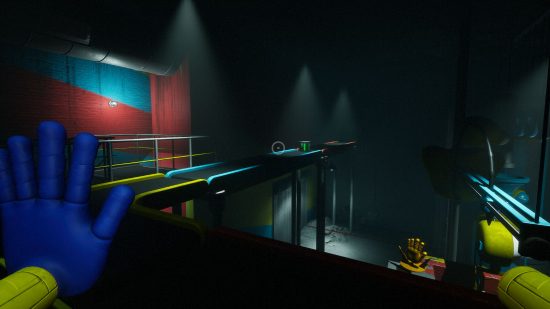
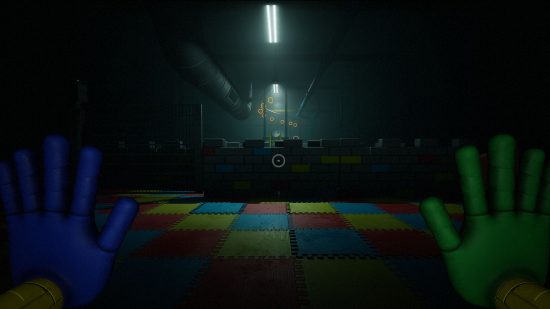
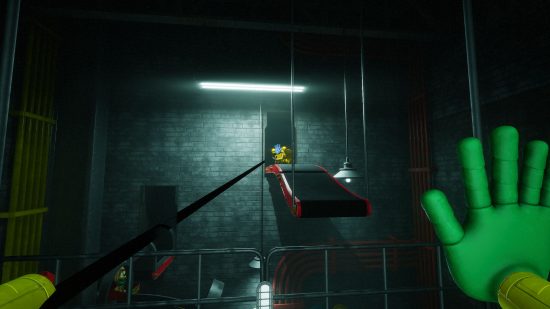
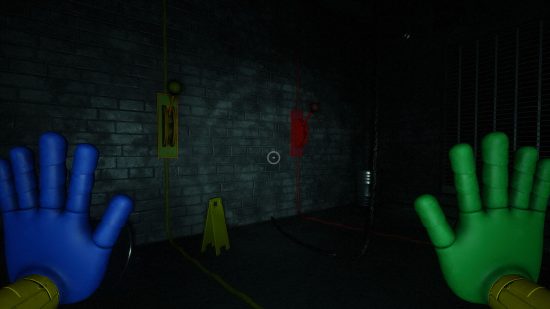
In the playground to the left, you can find the train statue collectible inside the yellow tube above the red play net, as seen in the picture above. Grab that, then get up on the train platform.
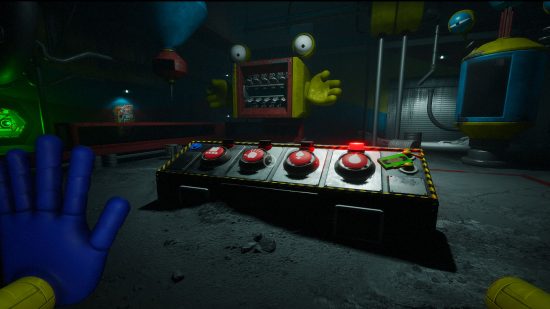
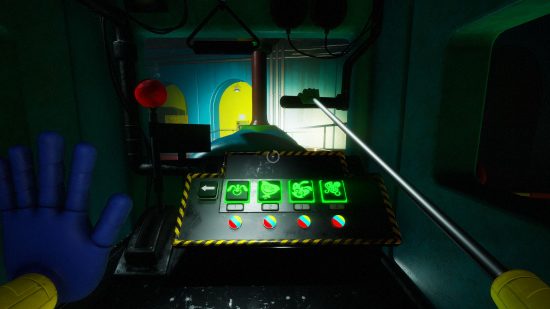
Here, you find three levers. Pull the one on the far left and wait for the musical memory door to open. Head through the door and follow the path around until you reach a hole in the ground. Drop into the hole and keep moving forward through the dirt tunnel until you get to a room with four buttons in it. Welcome to the moulding room!
So, remember how you lost your red hand? Of course you do, that’s not something you forget too easily. Luckily, this room can provide you with a shiny new green hand as a replacement if you follow these steps.
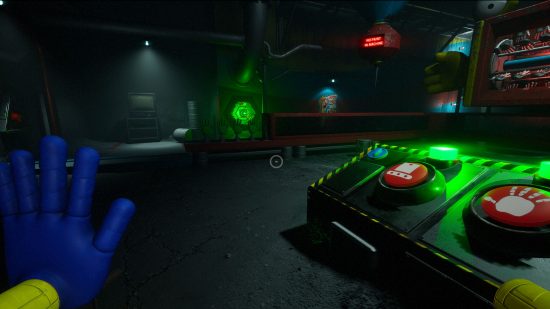
First, pull the lever with the red flashing light to the right of the button control panel to turn the lights on.
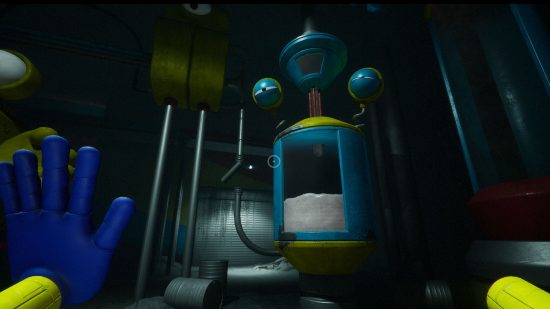
Hit the button on the far right, with the water drop icon on it. Now you need to fix the pipe ahead of you, to the left of the blue machine with squinted eyes. Do this by grabbing the piece of bent pipe and pulling it back into place.
Return to the console and hit the next red button to the left of the water drop one. This gets the yellow machine with the freaky hands going. Watch the machine until the light above the red button with the handprint icon starts flashing red. Hit the handprint button and watch the blue machine to your left splutter.
Walk to the left behind the conveyor belts and the machines to a newly opened door. Walk through the door and up the stairs and grab the tub of green paint from the conveyor belt at the top. Load it into the machine with the red flashing light to your right.
Go back downstairs and return to the buttons. Press the handprint button again and watch the machine do its thing. Push the last red button, then go claim your fresh hand from the conveyor belt to your left.
Now you’ve got a lovely new hand! While you’re here, there’s a green VHS tape on the console next to the buttons. Pick it up and put it in the green VCR player to the left of the conveyor belt where you just got your new hand.
There’s also a hand statue collectible on top of the yellow hand machine. The easiest way to snag this is by walking halfway up the stairs and grabbing it from behind.
Your green hand allows you to grab electrical charges and store them for a short period of time. Use your green hand to grab the green fuse by the conveyor belt, then use it to open the conveyor belt door behind you and head on through to the musical memory room.
Musical memory is a mini game you need to complete in order to progress. It relies on you memorising and repeating sequences shown to you in the form of colours, shapes, and letters. If you fail too many times Poppy Playtime’s Bunzo Bunny drops from the ceiling and kills you, so think sharp.
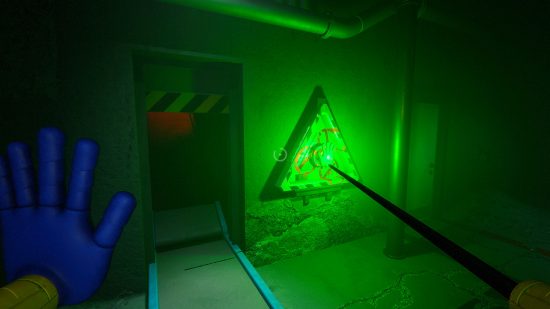
The buttons you need to hit appear all around you, so sometimes you need to glance around to find them. In round five, a bunch of buttons appear and the directions start spewing out far too quick for you to catch. Look out for the moving emergency stop button with the exclamation point in a triangle. Hit it to end the game, triggering Mommy Long Legs to give you the Train Clue 1: Playtime Co Train Access Instructions clue, which shows you the character sequence you need to enter into the train console.
The walkway that you came in through reappears. As you try to cross it, the walkway collapses and you fall. Now you must find your way back to the game station by heading through the vent with the red light above it to your right. You arrive in a stock room full of toys and puzzles.
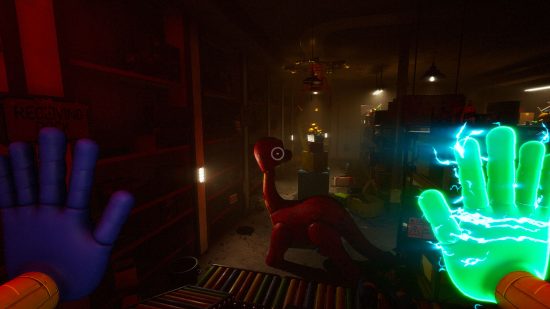
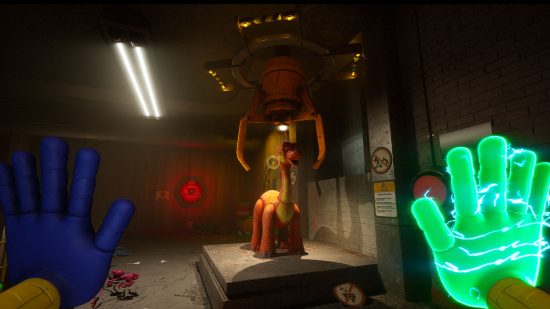
Head to the far side of the stock room to find a scale with a huge Poppy Playtime Bron the Dino toy on it. Bron’s too heavy, so the scale won’t move up and let you get to the next area until you get him off it. Turn right to find a crane control panel. Pull the lever to power up the crane, then approach the crane head and grab the bars, pulling it along the track to position it.
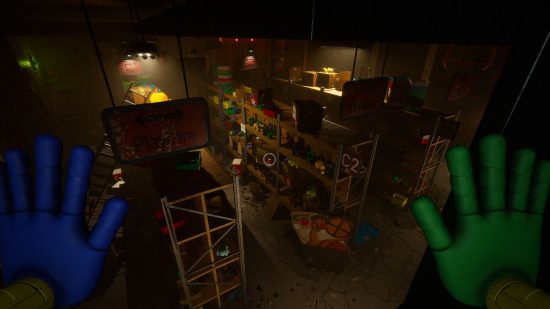
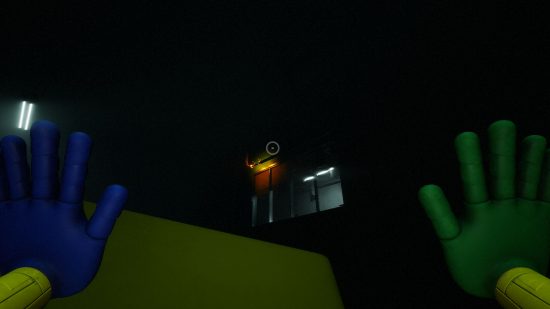
You can use the crane to grab a Bunzo statue collectable in aisle C5 on top of a stack of boxes, as seen above. Pull the crane over it, then use your green hand on the green fuse box next to the toy on the scale and transfer the electricity from your hand to the crane. Then pull the crane forward so it drops the collectible in front of you, ready for you to grab.
There’s also a cyan VHS tape to collect on the ladder in aisle C1 – no crane required. Simply snag it and stick it in the VCR player next to the crane control panel.
Finally, pull the crane over the Bron toy on the scale, then once again use the green fuse with your green hand to transfer energy to the fuse on the crane head. Once it’s lowered and grabbed Bron, move it out of the way. Now step on the scale and hit the red button to be raised to the ledge above.
Follow the newly accessible path along until you reach a power puzzle. Shoot your hand at the outlet and walk around the first pole, then stand on the platform that raises up and step off it when you get to the top.
Release your grip on the outlet, then crouch and grab it again. Wrap around the pole on the ledge with you, then drop down and wrap around the first pole again, then grab the other outlet to complete the circuit.
Stand on the rising ledge and hit the red button to go back up, and follow the path and head up the stairs. At the top of the stairs, move the chair out of the way and head through the door to get back to the game station.
Back in the game station, the second lever in front of the train is now flashing red. Pull it to open the Wack-A-Wuggy room. As soon as you enter, you’re launched into a mini-game.
Luckily, the Wack-A-Wuggy mini-game is pretty easy and self-explanatory. When Huggy Wuggys crawl out of the holes, hit them before they get to you. Completing this earns you the Train Code 2: Colour Sequence clue. Only one game left to play!
Head through the vent that opens, and follow it to the room with the broken stairs. Climb the stairs and look up, then grab the pole way above your head to grapple up.
Part way down the broken stairs, there’s a Kissy Missy statue. Grab that, then grapple onto the pole again to get back to the top. You may need to swing to get onto the platform!
Follow the path forward until you reach some tracks. Head along the tracks and turn left to reach a gate. Stand at this gate until Kissy Missy appears and opens it for you. Go through the gate and head forward until you reach the cart puzzle.
The cart puzzle is pretty simple. You just need to use your green hand to charge different sockets in order to progress.
As you make your way through, you find different levers that open gates along the tracks. Make your way through, and be sure to pick up and play the blue VHS tape you find along the way to see the JackSepticEye cameo.
When you get the cart to the end of the tracks, push it to make a hole in the boards. Follow the tracks then turn right at the bottom, head through the door, and drop down the hole. Keep on going until you find yourself back in the game station.
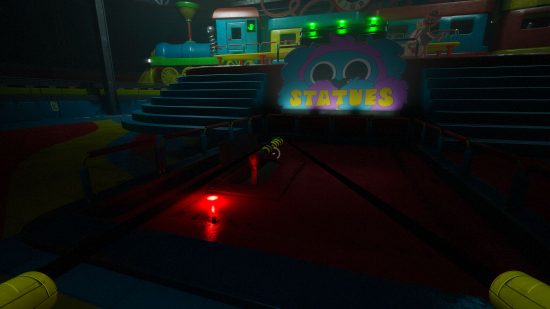
Head back to the platform in front of the train and pull the final lever, triggering a handle to appear on the ‘statues’ door. Use both hands to pull the handle on the door right, then head down the stairs to the statues area.
It’s time for another power puzzle. Go to the room at the end of the hall, and grapple up to the ledge on the left. Connect your blue hand to the socket, then drop down. Navigate around the poles and grab the charge from the green fuse with your green hand, then use it to shoot the switch on the wall, toggling the grapple point. Grapple up and use your free hand to connect to the other socket, completing the circuit.
Go back out to the hallway and head through the newly opened door.
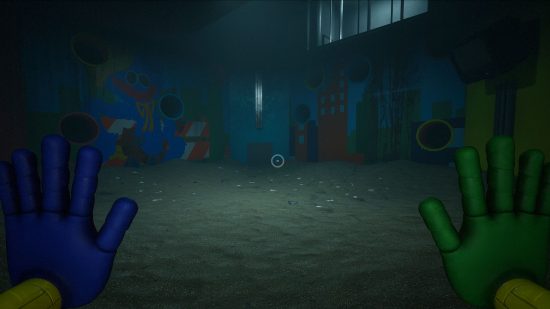
Welcome to the statues game room! You must make your way across the room when the lights are off, and stand still when the lights are on. If you move when the lights are on, you get munched. When you get to the first foam pit, be sure to walk along the edge, and jumping over the foam slows you down too much.
About halfway through the room, there’s a slide section. Go through the ‘hard’ slide to find the PJ-Pugapillar collectible.
When you reach the end of the course, look to the right and hook up to the grapple point above the window. Smash through the glass to get to the control room, and you’re finally safe from Poppy Playtime’s PJ Pug-a-Pillar.
Here, you find a hole in the floor. Drop down, then walk forward and swing across the gap to get to the other side. Progress through the hallway and grapple up to the floor above at the end. Move forward and grapple up again.
Keep on walking, then head through the vent on your left. Grapple one last time, then follow the path forward and up the stairs to get to the water treatment plant.
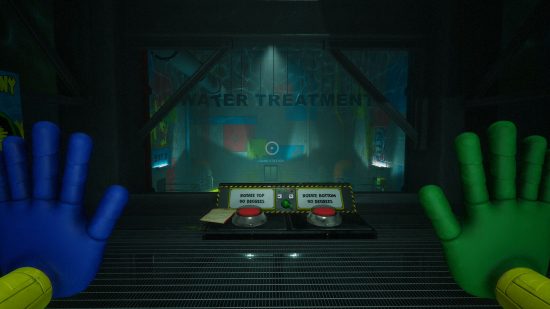
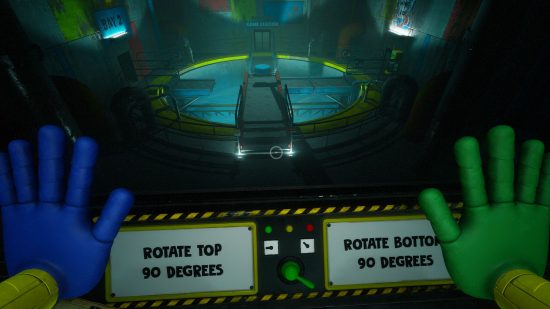
Approach the console with two buttons, then hit the ‘rotate bottom 90 degrees’ button three times to make a path leading to the C2 room on the left. Go down and face forward on the red platform to snag the green tape on the ledge by the game station doors. The VCR player is next to the console with the buttons if you want to watch it. Now, continue onto the C2 room.
You need to make a Bunzo Bunny toy in order to progress, but that requires you to get up to the top of the room. Luckily, there’s an elevator here.
To get to the top and snag your Bunzo Bunny toy, you need to push the buttons and pull the levers in this order.
- Push the red button to make the conveyor go left
- Use the lever to go up to about the halfway point
- Push the blue button to make the conveyor go left
- Push the yellow button to make the conveyor go left
- Use the lever to go up to the top
- Push the first red button to make the conveyor go left
- Push the second red button when the Bunzo toy is on the last conveyor belt so it comes to you
Once you’ve snagged the toy, ride the elevator up as high as it can go and look around to find the collectible Barry statue. Ride the elevator back down to the bottom of the room, then head back to the water treatment room control panel.
Now you need to make a path to room C4. Hit the buttons on the control panel in this order:
- ‘Rotate top 90 degrees’ once
- ‘Rotate bottom 90 degrees’ twice
- ‘Rotate top 90 degrees’ twice
When the path is set, head over to the C4 door and put your Bunzo Bunny toy on the ‘nobody leaves without making a toy’ scanner to gain access.
Enter C4 then walk forward until you find a vent to your left. Crawl through taking the first left, then follow the vent until you come out in a room with a hole at the centre. Use the grappling pipe to swing across to the other side.
Another circuit puzzle awaits. Connect to the outlet, then wrap your arm around the two poles, triggering the door on the green hand outlet to drop. Release your hand and quickly grab the pink VHS tape, and use your green hand to grab charge from the green outlet before the door closes on it.
While your hand is still charged, swing back across the gap and attach your hand to the green outlet. Run through the door that opens and back to the room with the two poles, wrap around them, and connect to the socket by the door you just opened to complete the circuit. This is a little tricky when it comes to timing, but it’s possible with a bit of patience.
Now that the doors are open, you can use the pink VCR player to play the VHS you just picked up.
When you’re done, go back through the vent and find yourself falling into the room below. Walk towards the end of the hallway and Mommy Long Legs drops through a hole in the roof.
Run through the door behind you as soon as it opens, then go down the stairs and follow the path forward, climbing through holes in the walls and dropping through chasms in the ground. Don’t panic too much, as Mommy Long Legs isn’t really chasing you here.
Finally, you get to a red conveyor belt with a painting of Candy Cat on the wall and a red lever. Pull the lever and ride the conveyor belt. Be sure to grab the Mommy Long Legs statue at the end before you drop down the hole.
You find yourself in a dark basement with a large door with a red light above it. First, turn back and head in the opposite direction, following the hallway and going through both brown doors until you arrive in a room with four coloured switches – two on each wall. You need to pull them in a specific order.
To check this order yourself, grapple up through a hole in the ceiling and note down the numbers on each of the battery packs, and the coloured wire they’re connected to. Drop back down and pull the levers in the right order. If you didn’t want to check, or you’ve forgotten, the order is:
- One – red
- Two – blue
- Three – green
- Four – yellow
Progress through the hallway to trigger Mommy Long Legs to spawn. Turn and run back to the room with the switches, then grapple up through that hole in the ceiling and hang there until she passes.
Then, head back to the hallway you were trying to walk through before she rudely interrupted you, and keep on trucking until you get to the room with the big furnace.
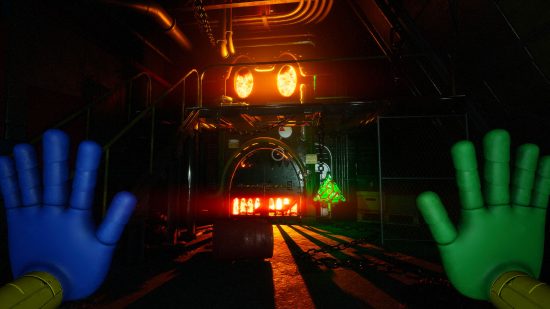
In this room, your task is to make a new cog to open the door. Start by grabbing the red cog mould off the shelf, then heading up the stairs to place the mould in the furnace.
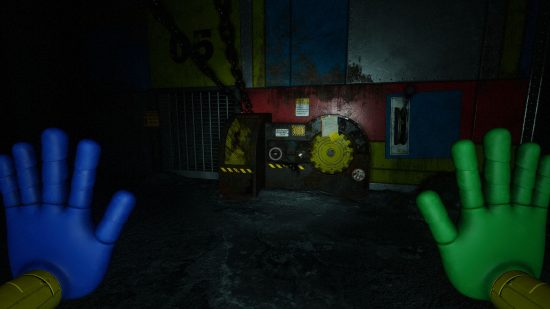
Go downstairs and charge your green hand, then start the furnace. Open the furnace doors and take your newly forged cog, then stick it into the door mechanism and pull the lever.
Go through the newly opened door and onto the walkway. Of course, Mommy Long Legs is never far away – when she appears, turn and run back to the forge. Use the green fuse to charge your green hand and run into the forge, using your green hand to ignite it. This causes the flames to swell, meaning Mommy Long Legs can’t get at you.
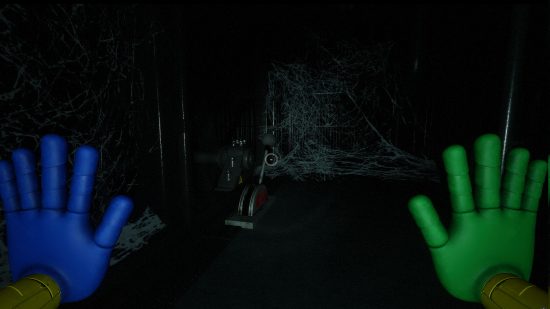
Once she leaves, go back through the door and walk across the walkway. You enter a spooky, cobweb-covered room with a grey lever. Pull it to start the final Mommy Long Legs chase sequence.
Similar to the Huggy Wuggy chase from chapter 1, this chase is much higher risk than your previous encounters with Mommy Long Legs. You need to keep moving, and even have to use grapple points a few times, so it may take a couple of tries until you get it.
However, when you finally reach the end, you get some sweet, sweet revenge. There’s a machine with a lever and, when you pull it, Mommy Long Legs is pulled in and crushed. Ding dong, the witch is dead! You’re safe for the rest of the chapter, so it’s time to relax.
From here, follow the path leading from the shredder room and climb the stairs. Part way, you find a VHS tape and a VCR player with no TV, so be sure to grab that.
Keep going up until you find yourself above the game station. Move along the catwalks and keep an eye on the rafters to find the final collectible statue, Claw, in front of a large room with a red blinking light above the door. Head inside and speak to Poppy to get the third clue, Train Code 2: Order Sequence.
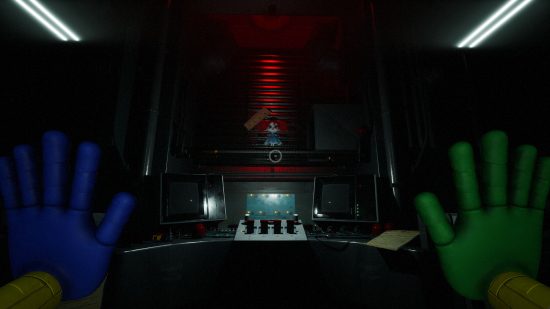
We’re finally there. All that remains is the train. Walk along the rafters to the left and go down the slide to return to the train. Use your green hand to open the door, then apply the clues you’ve collected to start the train. Pull the accelerator above you and the train starts to move. Sit back and enjoy the ride until you’re told to pull the breaks (the red lever to your left), triggering the final cutscene. And that’s the end of Poppy Playtime Chapter 2!
We’ll be sure to add a walkthrough for Chapter 3 as soon as it comes out. In the meantime, head over to our list of the best Switch horror games and best mobile horror games for more spooks. Or, if you’re looking for some jokes to break up the jumpscares, check out our TikTok download guide.
Or, for some more scares, check out our Dead by Daylight killers, Dead by Daylight movie, Dead by Daylight codes, and Dead by Daylight characters guides.
